Fun with Photo Shop Elements
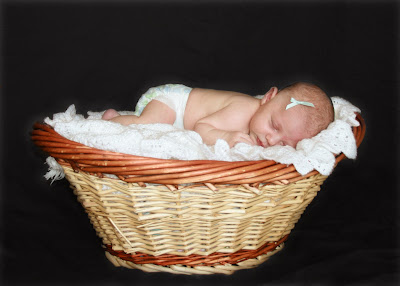
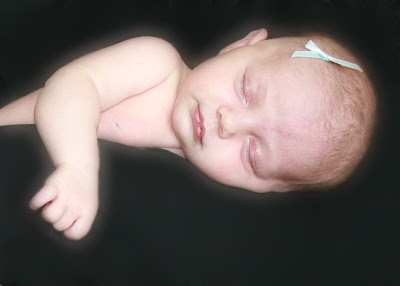
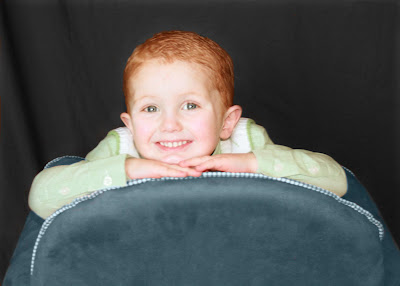
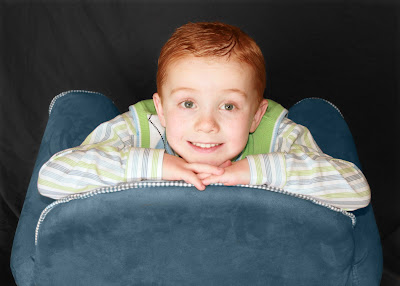
When I was in Idaho this weekend my friend asked me to take some photo's of her new baby. We also took pictures of her two boys. I'm only a novice picture taker, with a nice camera. I like all the practice I can get. It seems like the more pictures you take, the more you learn about what works and what doesn't. I mostly learn what doesn't. Luckily even though I've got a lot to learn about taking pictures, I am getting pretty good at Photo Shop, so even mediocre pictures turn out pretty good once they are edited. I thought it would be fun to show you a few before and afters of my photo shoot.
The After:

So, mostly I just cropped this one closer and removed the background color, then make the background darker.

So, mostly I just cropped this one closer and removed the background color, then make the background darker.
The Before:

The After:

Can you believe this is the same picture? Same thing as before: I cropped this a ton, then I used the cloning tool to get rid of any brown in the background. And finally I used Gaussian blur to get rid of the texture in the black shirt and smooth everything out.
This one didn't require a lot of editing: But two things that editing really helped with. First, cropping fixed the off center problem, and second I wanted to point out another cool feature of photo shop: skin tone correction. I use it in all my photo editing, see how much better the skin tone looks in the after pictures. Such a small thing makes such a big difference.
The Before's:


The Afters:


I was really excited about the editing technique I learned in these to pictures. We didn't want the chair red because it didn't really match the boys clothes. So I was just going to remove the color from the chair and make it a grey color. But I started playing around and decided to use the blue from their sweaters to color the chair. Some of these tools are just like magic.
Temple Pictures
I drove by the temple on my way to check on my crafts and decided to take some photo's so I could play with the editing. I've wanted a good one of the Idaho Falls temple to hang on my wall.
Okay I showed this technique a couple weeks ago but its a good one, you really should try it.So I cropped it then remove a couple cars. Then I applied the Old Photo affect and added the writing on the bottom.


3 comments:
They turned out great! Keep learning so you can apply it to my kids!
My mom and I think you're really talented! Neat pictures!
Wow! I really need to learn how to use this program. LOVE what you did to the temple!
Post a Comment